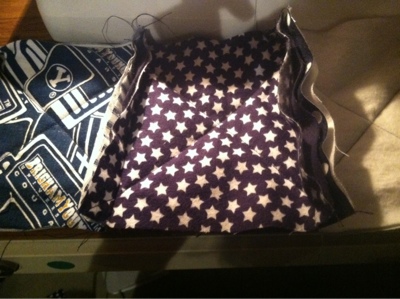
Have you ever seen those adorable rag quilts that are just so soft and look so easy, and then you try to make them and it takes forever? I have, but that was years ago and now I think I have method down.
For this method, the quilt as you go method, you will need to cut all the squares you want for the front and then cut the same amount for the back of this quilt.
This particular quilt I wanted to be bigger, something that could cover my nephew while he is at college, but not quite bed size. I wanted 4 1/2" blocks when finished so I cut 6" blocks. This lets 3/4" seam form your ragged edges. Then you will need to cut your batting into squares, but the batting you don't want poking out on the ragged edges so ONLY cut the batting the size you want the finished blocks to be. I cut 208 front/back/batting blocks each making this a 13 x 16 block quilt.
When all the blocks are ready, we can start putting the quilt together.
Layer the two fabrics, right sides out with the batting in the middle. The batting needs to be centered.
With machine quilting thread and a 90/14 needle, stitch an x across each set (top, batting & back)
After the rows are all sewn, we will sew them all together. Make sure that again while sewing these together the front is facing out and the back of the quilt is what is facing in. Sew all rows together.
Last (for sewing) you will sew a seam all the way around the outer edge of the quilt. Sew this 3/4" from the edge. I actually sewed a double seam, making it stronger.
After all the sewing go around and cut all the edges poking out on the top. You will need strong scissors. I recommend. Make sure that you do not cut the seam, if you do you will have to resew it and give it really good reinforcements.
This is what the edges look like after it's knipped and washed:
And here is my finished quilt!


.JPG)
.JPG)

1 comment:
What a cool idea, perfect for a bloke in darker shades.
Post a Comment